Who's Afraid of the Big Bare Root?I remember the first time I ordered roses online and they arrived bare root. Opening that box and seeing those newspaper soaked bare roots staring back at me, I was mortified. How do I plant these? Where is the pot and the root ball? Did I waste my money? All sorts of questions raced through my head. What’s that saying: “Life is 10% what actually happens and 90% what you think might happen”. Well, that certainly held true here. All my fears were for naught. As it turns out, I have long since preferred to purchase my roses bare root, for the following reasons:
|
|
In February, I received a shipment of roses from my friends at David Austin Roses. David Austin set off a English rose growing sensation with his 1983 introductions of ‘Mary Rose’ & ‘Graham Thomas’ at the Chelsea Flower Show. The allure and beauty of these magnificent roses and hundreds of other introductions are now enjoyed by gardeners the world over.
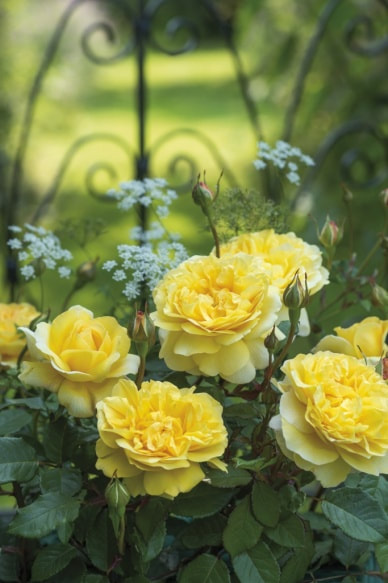
My shipment included three shrubs of ‘Olivia Rose Austin’, one shrub of ‘The Poet’s Wife’ and two shrubs of ‘The Lady of the Lake’. The three ‘Olivia Rose Austins’ will be planted in a “V” formation in front of a large shrub of climbing ‘Crown Princess Margareta’ which we having growing in a container against the fence. The shrubs of ‘The Lady of the Lake’ will be planted along a fence line and as you’ll see in our video below, ‘The Poet’s Wife’ is going in one of our raised beds. |
First things first. Upon arrival, I removed the bare roots from the box they arrived in and plunged them into a bucket of manure tea and let them rest there 24-48 hours. A good soaking will hydrate the roses in preparation for planting. I’ve put together a little video to help allay any fears about planting bare root roses.
I am assuming here that you have a nutrient rich soil in which to plant your bare root rose. If not, add equal parts of top soil, composted manure and mini pine bark nuggets. For years, I have used this simple mix with wonderful results. Then, get to digging!
Step 1:
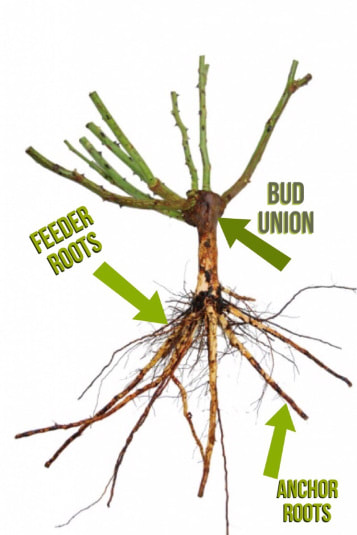
Dig the hole. Dig at least the size of the root system up to the base of the graft where the bottom of the canes are plus a few inches more. Depending on your growing zone, you may elect to bury the bud union altogether.
Step 1:
Dig the hole. Dig at least the size of the root system up to the base of the graft where the bottom of the canes are plus a few inches more. Depending on your growing zone, you may elect to bury the bud union altogether.
|
Step 2: Get to know your bare root rose. Does it have strong anchor roots? these are the thick roots. Does it have a good system of feeder roots? These are the tiny fibrous roots. The feeder roots allow for nutrient uptake to the rose. I had a lady write to me once who said all the roses she purchased had died. I went to see her to help diagnose the problem and she told me that she had “cleaned them up” before planting. She had taken the scissors and cut all the feeder roots off! Can I tell you that she learned a valuable lesson that day; both types of roots are essential to the health of your roses. |
|
Step 3: (a best kept secret)
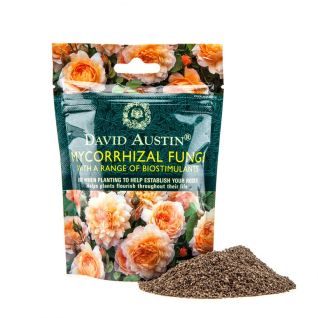
Add Mycorrhizal Fungi to the roots of the plant. This works best when fungi comes in contact with roots. Here’s Why:
|
Finally, place the rose in the hole. Cover the bare roots with soil all the way up to the bud union. Tamp down the soil a bit and water your rose in and you’re done. So, who’s afraid of the big bare root? Not us!
Happy Growing!
Happy Growing!


